
I got the plunger and tip for the ZephPaste today. The Zephyrtronics guys were nice enough to modify my order to send me the right things. I wasn’t sure what I needed, so I ordered the pack of assorted tips with a note asking if that was the right thing. They kindly replaced that expensive pack with a 2 pack of tips that worked just fine for me. Thank you Zeph!
After my day of work, I got to start assembling the board. I started with the LEDs and driver. The driver has the smallest pitch and I didn’t want to solder the LEDs by hand because I thought they’d be hard to align properly. I wasn’t sure how much paste to put on, so I started with this:
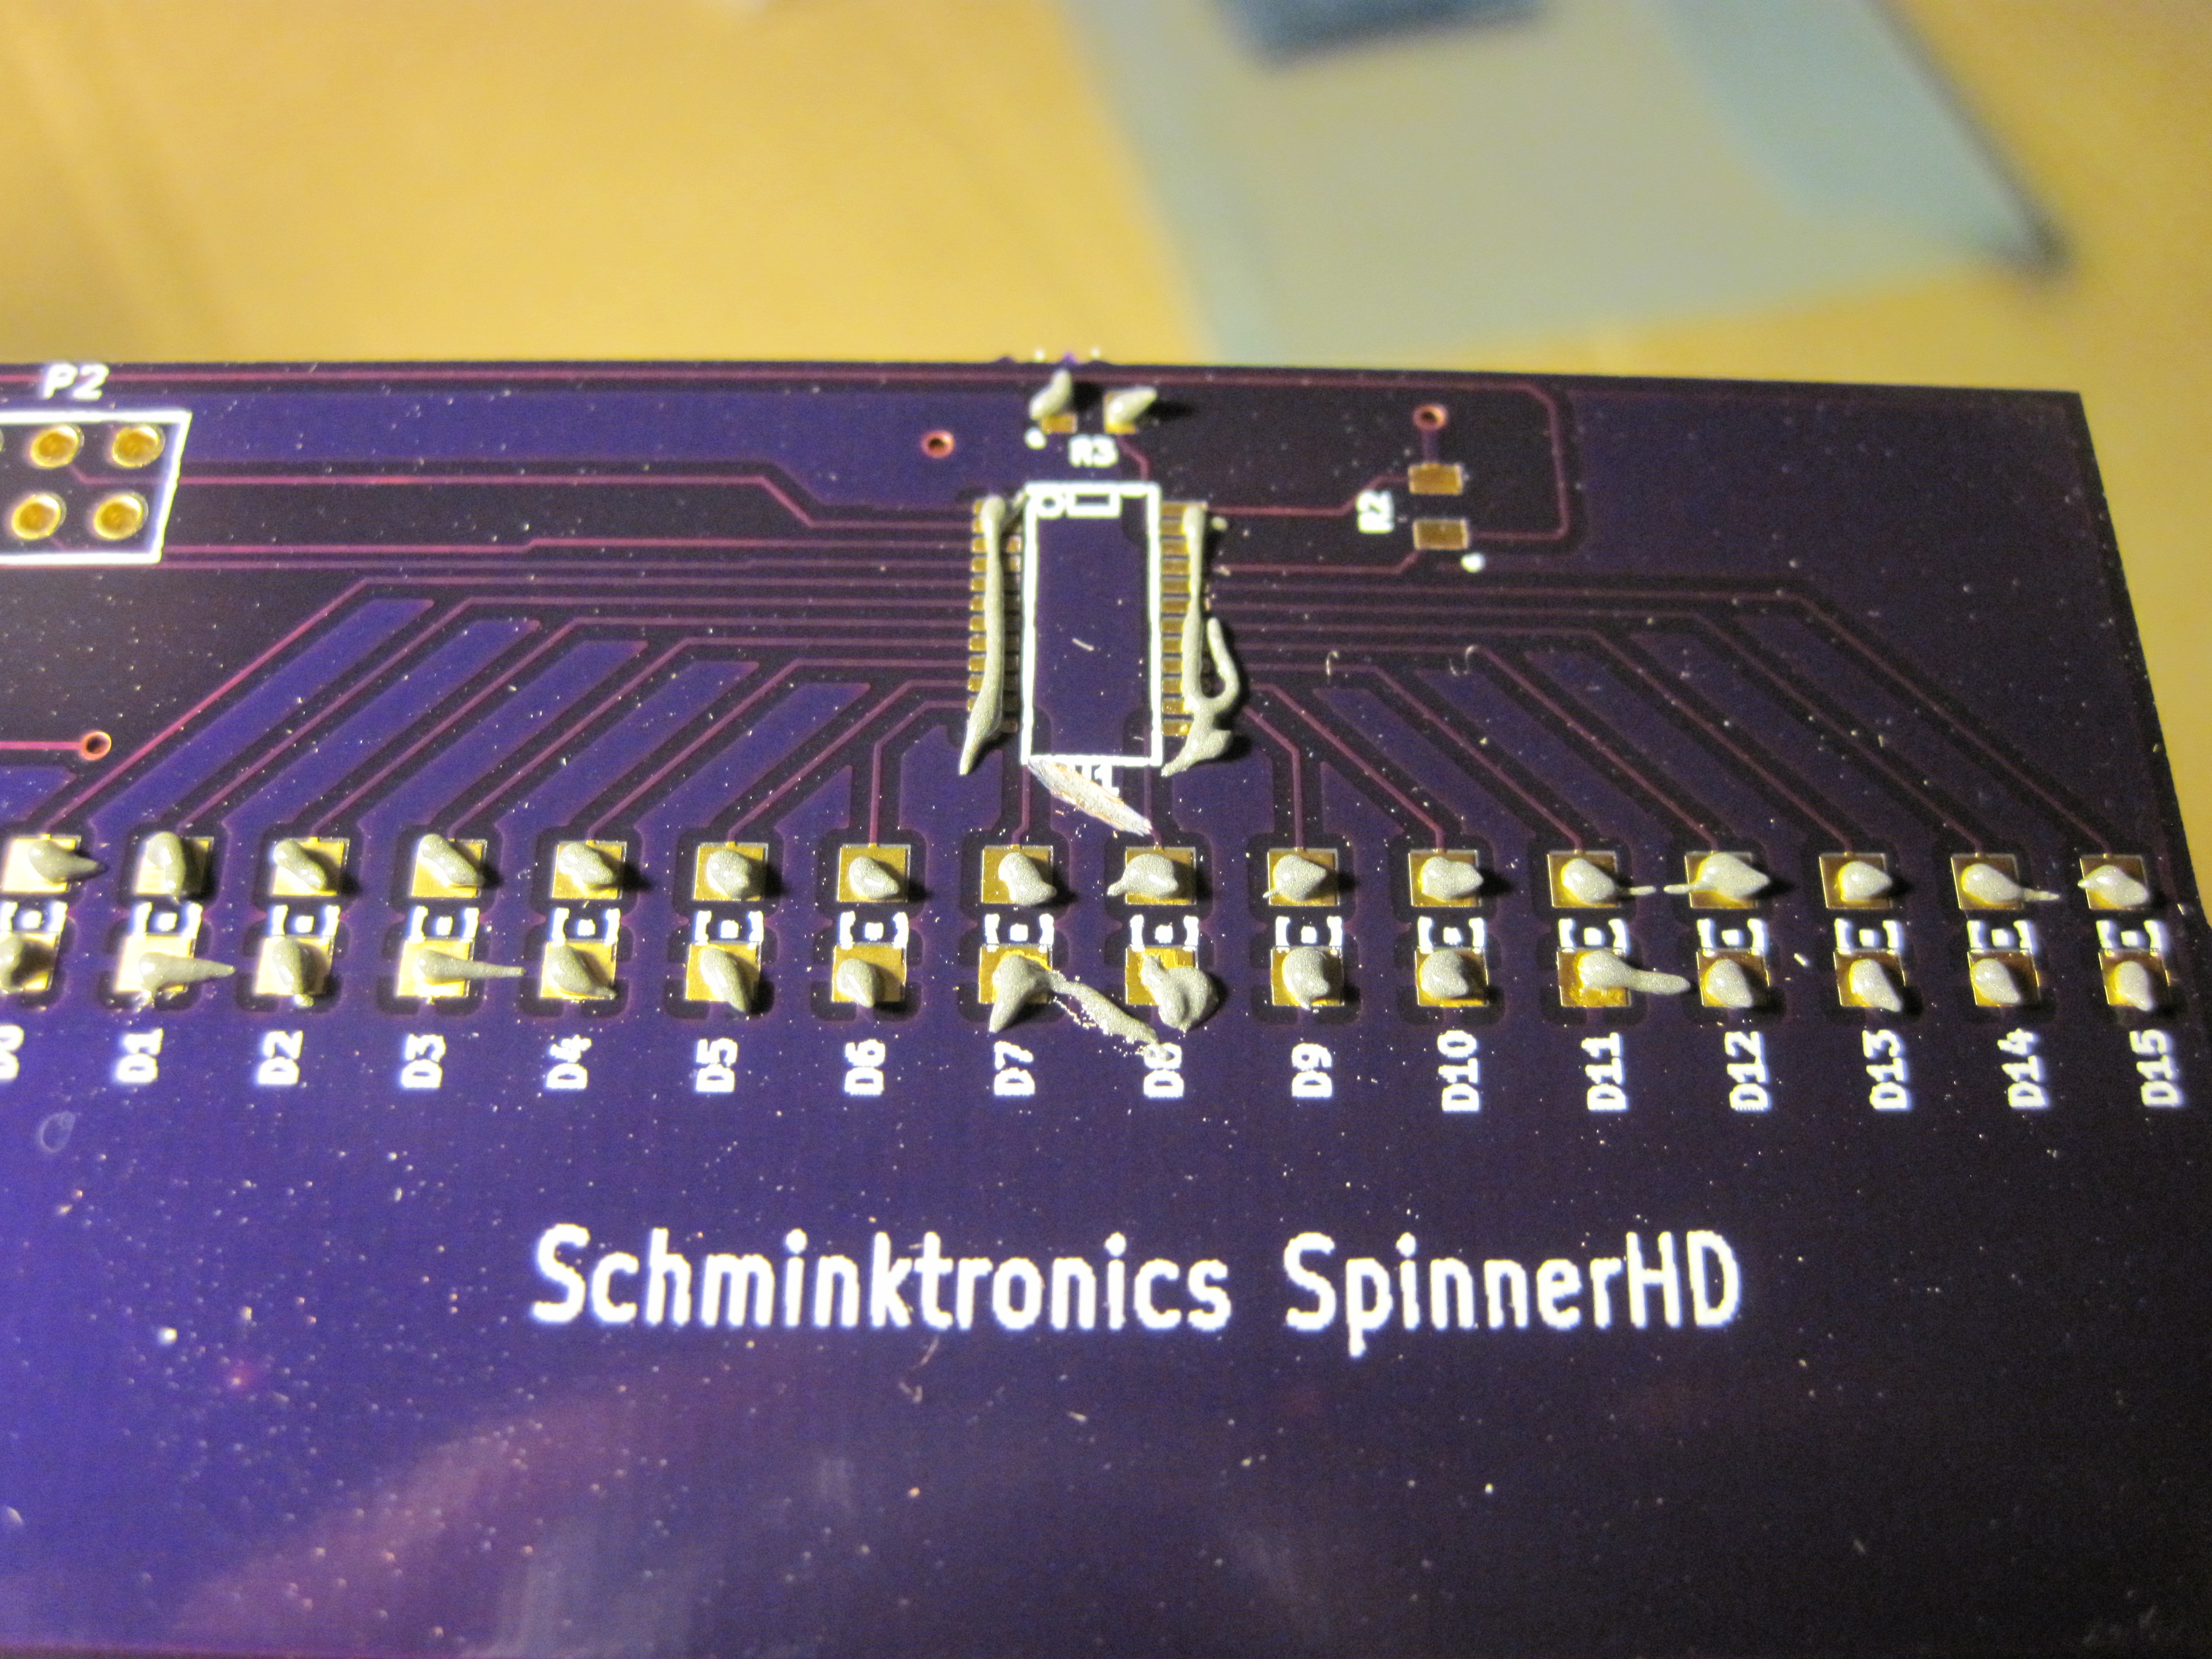
Didn’t know how much to put, but this is what I started with.
I didn’t really need to be careful about placing the chip as the paste spread around as soon as I set the chip down. I also decided this seemed like a good use for the thermocouple that came with my meter, so I put that on there to monitor the temperature too:

As I heated the paste, it spread out even more, but once it hit the magic temperature, it melted and all sucked back in, aligning the chip to the pads in the process! I did end up with too much solder and ultimately had to wick some away. The heat gun was handy for the alignment though. Then I went down the line heating the LEDS. Those did seem to all align quite nicely, except for one I had to force down with tweezers while the solder was liquid.
After testing to make sure there were no shorts, I decided to continue on to the processor and crystal:
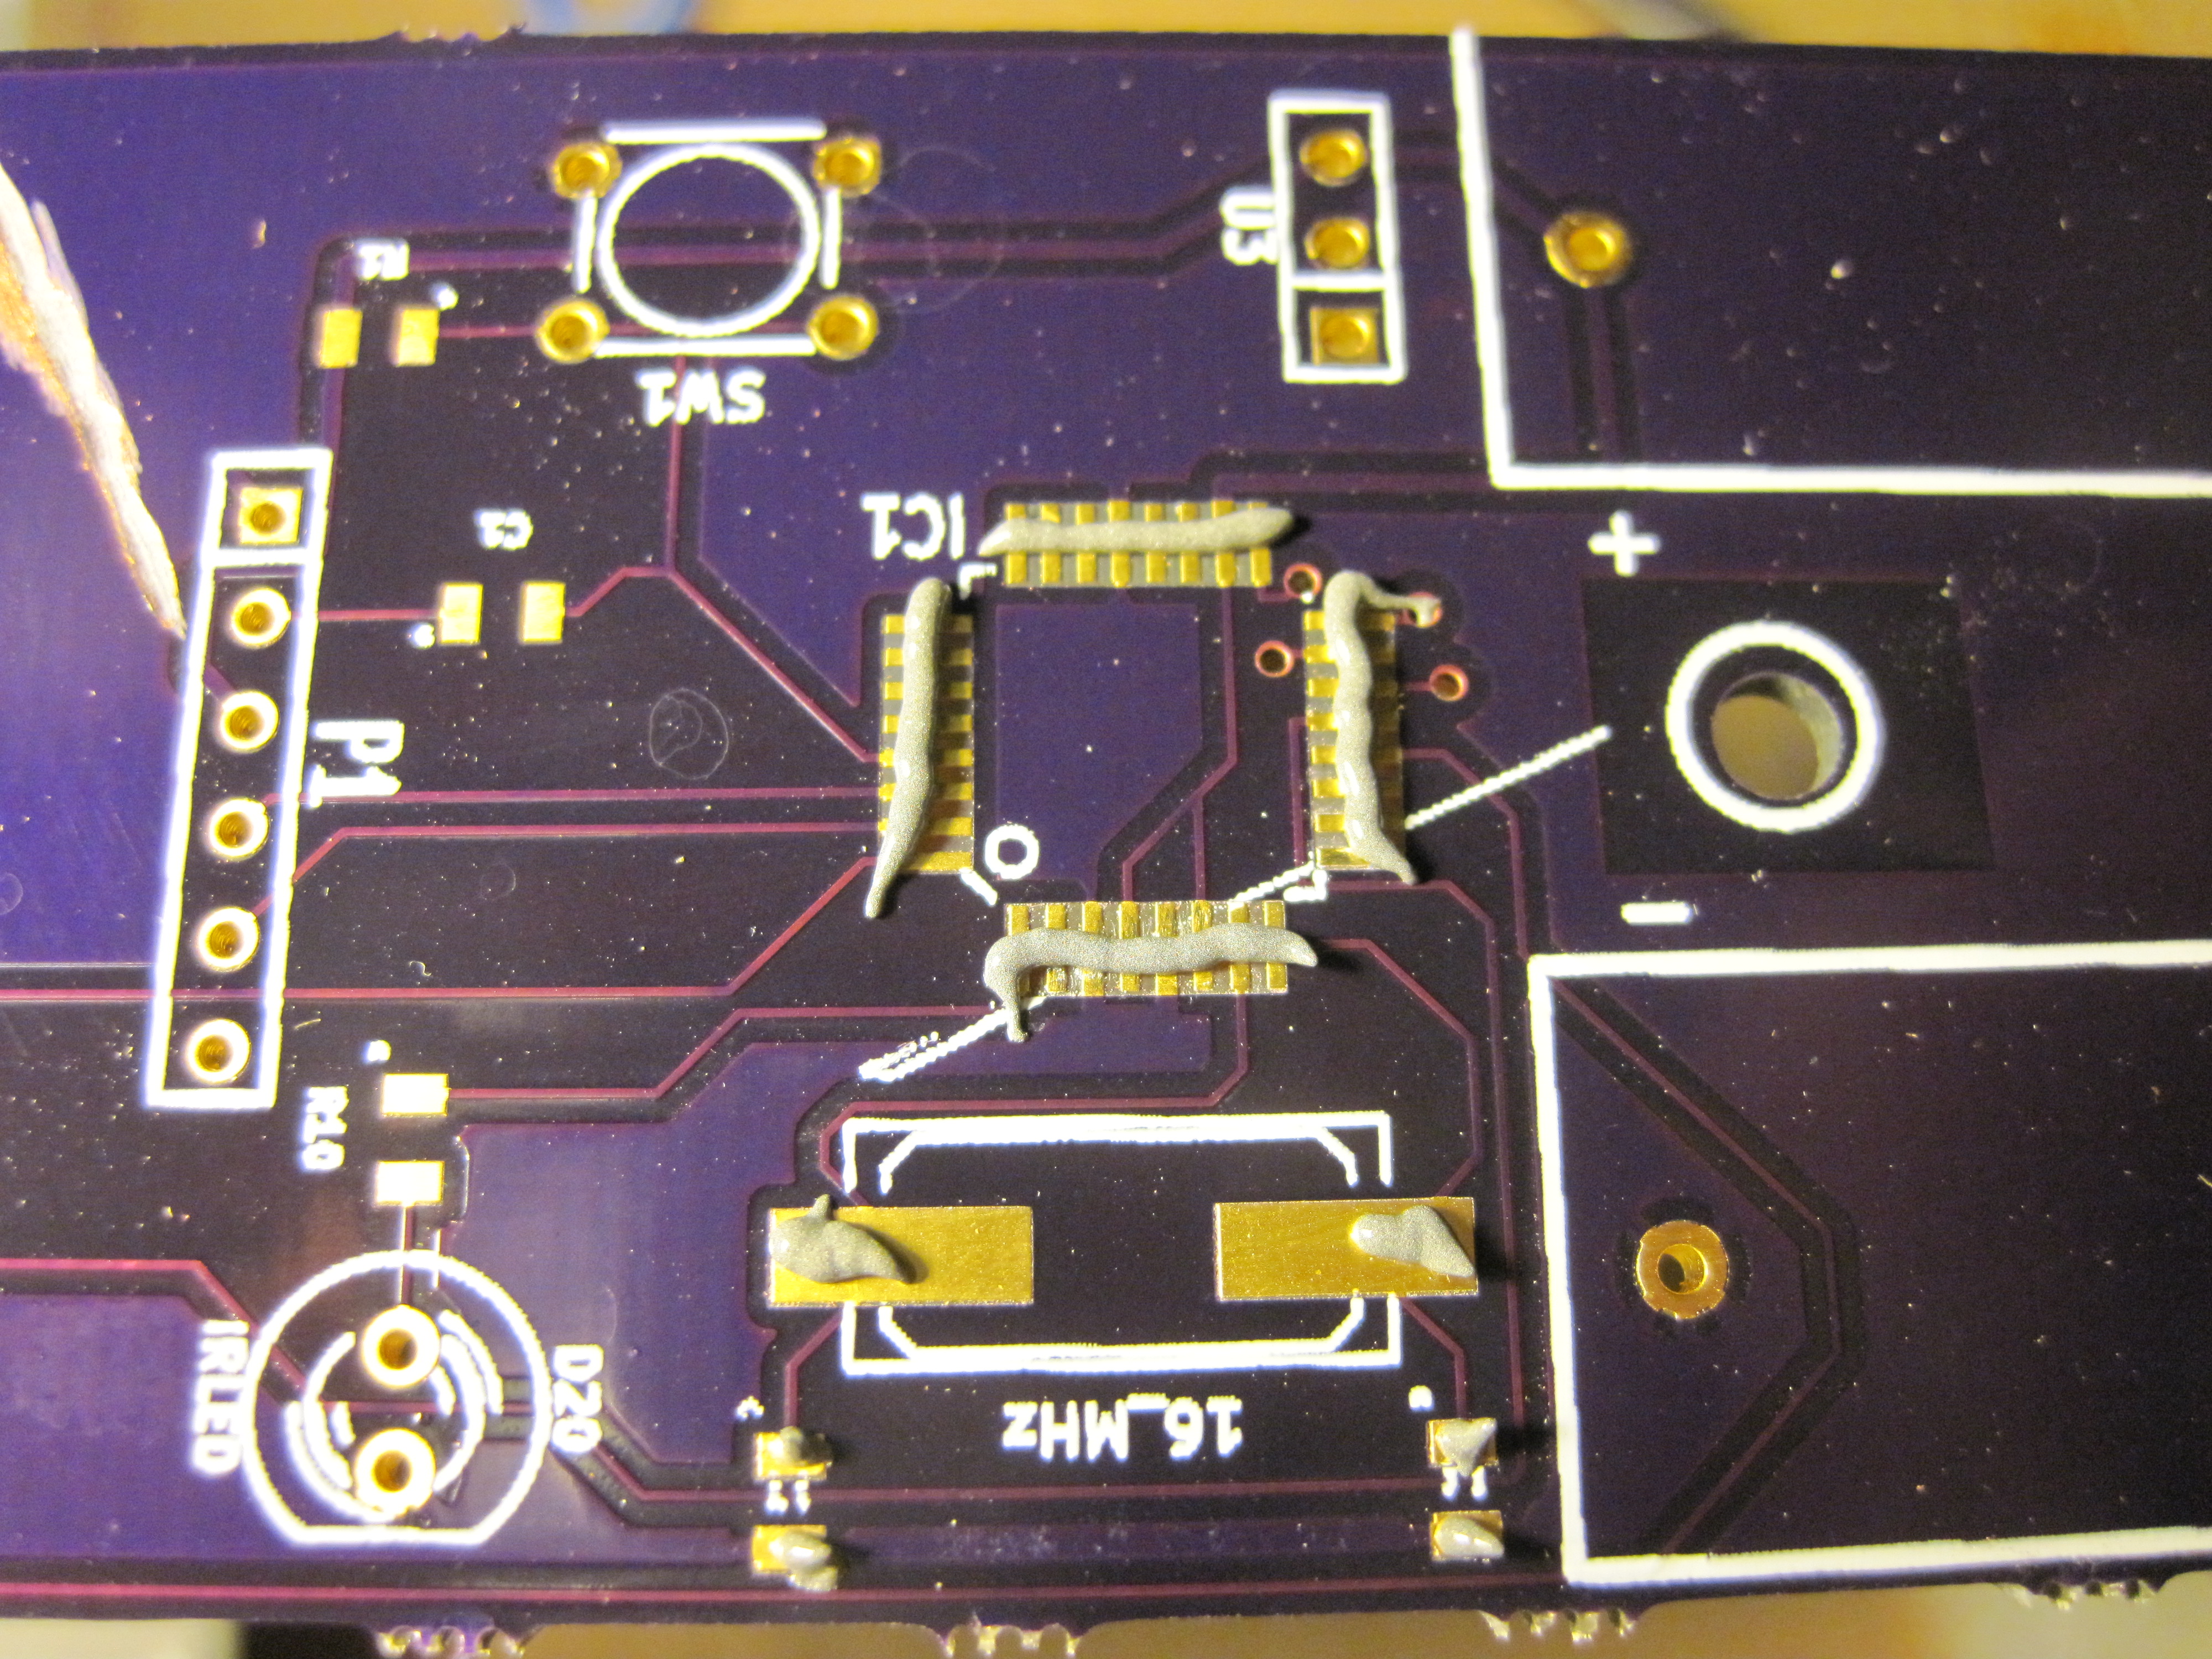
This is the amount of paste I put on the processor pads
Once again, as I heated the paste, it spread out:
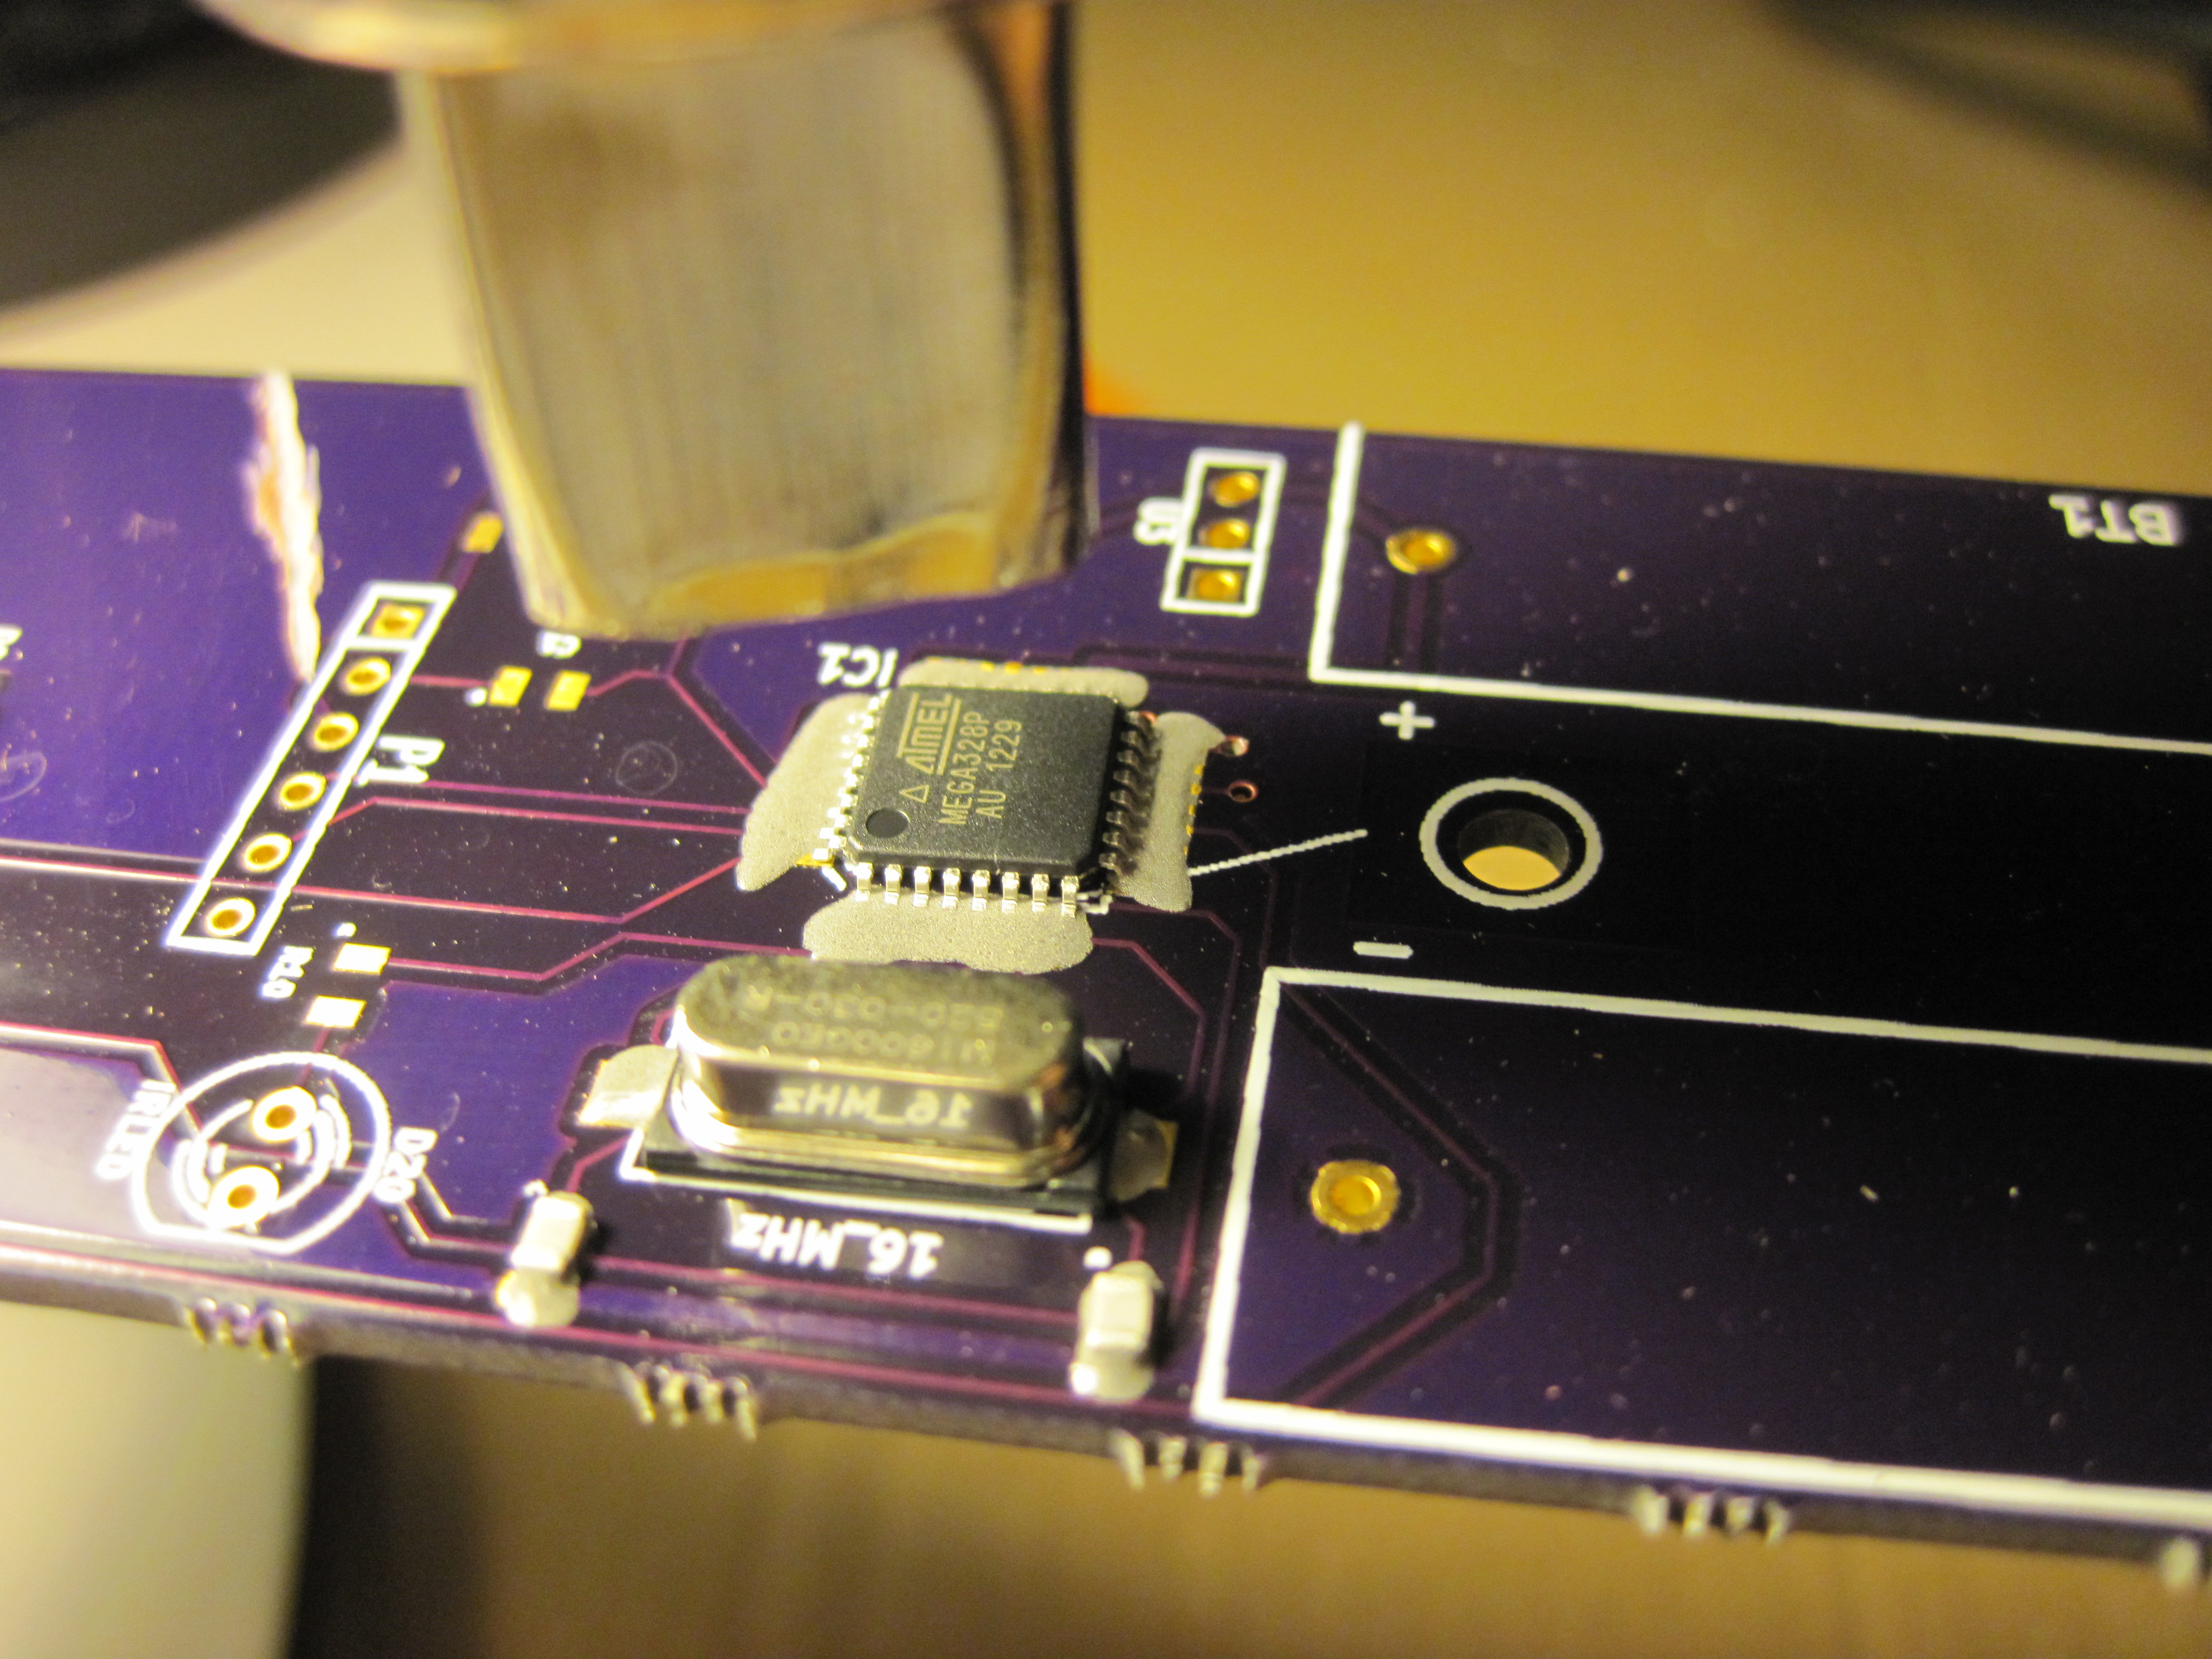
But again once it hit the melting point, all the solder sucked onto the pads. But, I did end up with too much solder so I had to wick some away. That looked like too little, so I then applied some more regular solder. I had to do a lot of testing to make sure I had no shorts, then declared it done!
This bare chip doesn’t have the Arduino boot loader, so I had to fire up Atmel Studio to flash that in. BUT, the board didn’t work. I decided to start by checking that the debug header worked. I got lucky and quickly discovered the MISO and MOSI line were shorted. After fixing that, I was able to program the chip. I didn’t have the hex file for the bootloader handy, so instead I just programmed my last test program. Immediately the LEDS lighted up exactly as I had planned. YAY!!
More pics of the finished board and some video later…